This manual provides a comprehensive guide for installing and configuring the Honeywell TH8321WF1001 thermostat. It includes safety guidelines, system requirements, and step-by-step instructions for a successful setup. Designed for both professionals and DIY enthusiasts, the manual ensures proper installation, maximizing the thermostat’s performance and energy efficiency.
1.1 Overview of the Honeywell TH8321WF1001 Thermostat
The Honeywell TH8321WF1001 is a Wi-Fi-enabled, touchscreen programmable thermostat designed for compatibility with various HVAC systems. It features a user-friendly interface, geofencing capabilities, and smart recovery technology to optimize energy savings. This thermostat supports up to 3 heat and 2 cool stages, making it suitable for heat pumps and other systems. Its advanced features, such as remote access and integration with smart home devices, provide enhanced convenience and control over home climate systems.
1.2 Importance of Following the Installation Manual
Adhering to the Honeywell TH8321WF1001 installation manual ensures a safe and correct setup, preventing potential system damage or safety hazards. Proper installation guarantees optimal performance, energy efficiency, and compatibility with existing HVAC systems. Skipping steps or ignoring guidelines may result in malfunctioning or reduced thermostat functionality, leading to increased energy costs and decreased system lifespan. Following the manual also ensures compliance with safety standards and manufacturer recommendations, providing a reliable and efficient heating and cooling experience for years to come.

System Requirements and Compatibility
The Honeywell TH8321WF1001 is compatible with 24V HVAC systems, including heat pumps and furnaces. It requires a C-wire or battery power and supports smart home integrations.
2.1 Supported HVAC Systems (Heat Pumps, Furnaces, etc.)
The Honeywell TH8321WF1001 supports various HVAC systems, including heat pumps with auxiliary heat, furnaces, and dual-fuel setups. It is compatible with systems requiring up to 3 stages of heating and 2 stages of cooling. This versatility ensures it can be installed in diverse home configurations, providing efficient temperature control. The thermostat also works with 24V AC systems, making it suitable for most residential installations. Proper system compatibility is crucial for optimal performance and energy efficiency.
2.2 Wi-Fi and Network Requirements
The Honeywell TH8321WF1001 requires a 2.4 GHz Wi-Fi connection for smart functionality and remote access. Ensure your router supports this frequency band and is configured correctly. A stable internet connection is essential for features like geofencing and smart home integration. During setup, the thermostat will prompt for your Wi-Fi SSID and password. Additionally, ensure your network is secured with a compatible protocol to maintain connectivity and performance. Proper network configuration is critical for optimal thermostat operation.
2.3 Compatibility with Smart Home Systems
The Honeywell TH8321WF1001 is designed to integrate seamlessly with popular smart home systems, including Samsung SmartThings and Amazon Alexa. This compatibility allows for voice control and enhanced automation capabilities. Users can control the thermostat through smart home hubs or dedicated apps, enabling advanced features like geofencing and energy-saving modes. Compatibility with these systems ensures a unified smart home experience, making it easy to manage your HVAC system alongside other connected devices. Proper setup ensures smooth integration and optimal performance.
Pre-Installation Checklist
Ensure power is off, gather tools, and prepare the area. Check for damage and verify system compatibility. Have the manual ready and ensure the furnace door is closed.
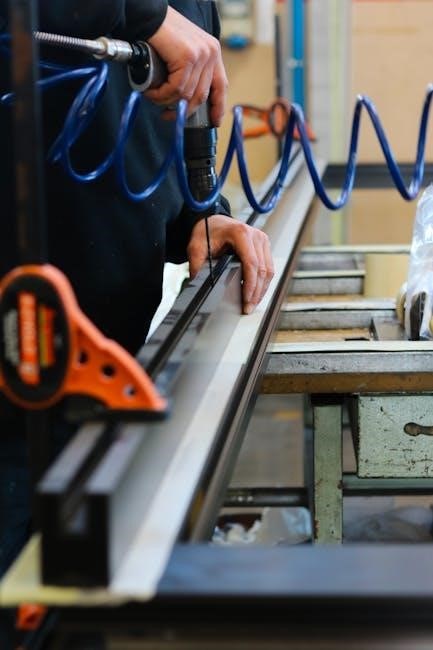
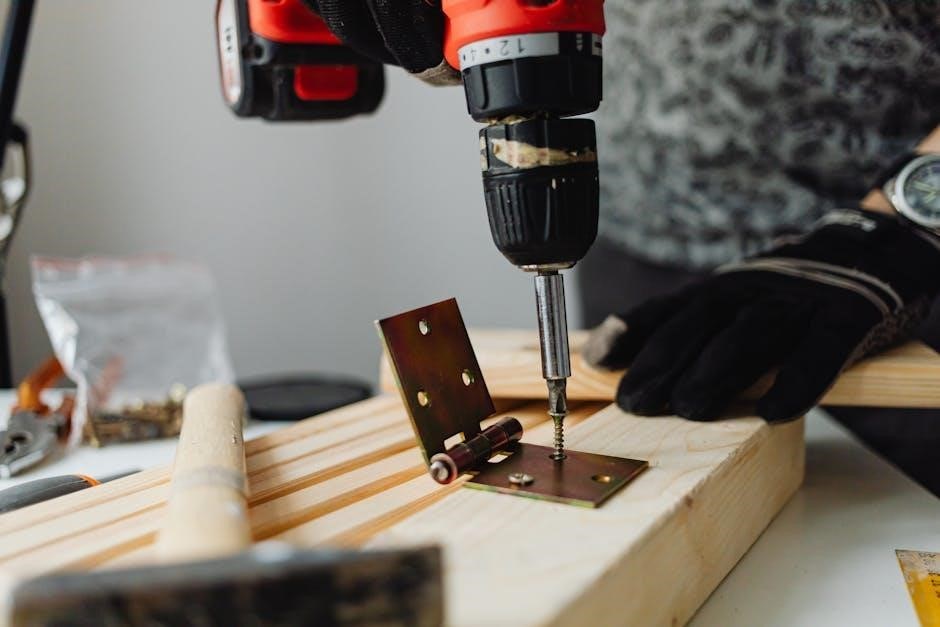
3.1 Tools and Materials Needed
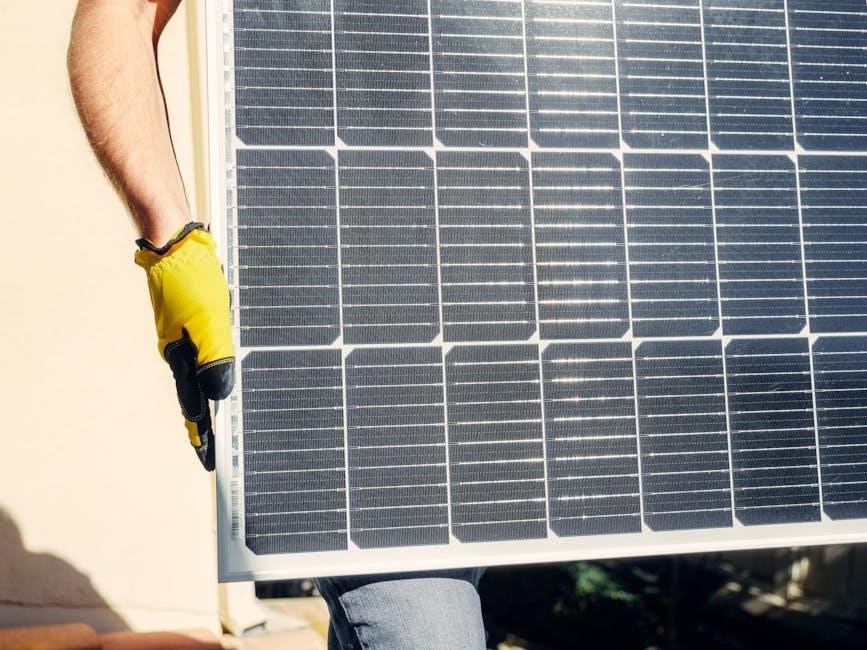
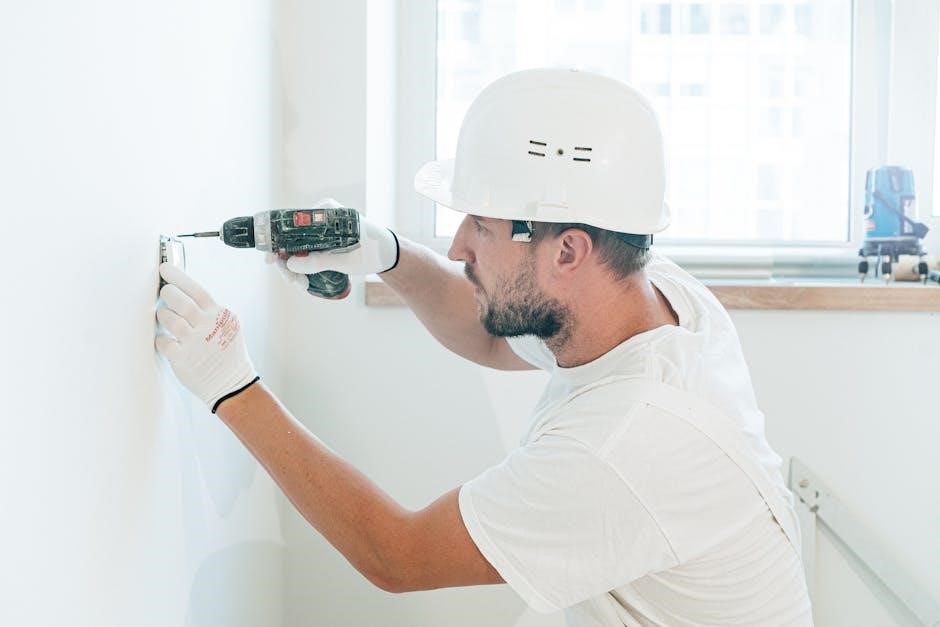
To ensure a smooth installation, gather the necessary tools and materials; You will need a screwdriver (Phillips and flathead), wire strippers, a drill (for wall mounting), screws, anchors, and a level. Additionally, have a voltage tester, pliers, and a pencil for marking wires. Safety gear like gloves and goggles is recommended. Ensure compatibility by checking the furnace door and system setup. Refer to the manual for specific requirements and precautions to avoid damage or injury.
3.2 Safety Precautions
Before starting, ensure the HVAC system’s power is off at the circuit breaker. Verify the furnace door is securely closed to prevent accidental start-ups. If the thermostat is battery-powered, insert fresh AA alkaline batteries to maintain proper function. Wear safety gloves and goggles to protect against potential hazards. Avoid working in damp conditions and ensure the area is well-lit. Follow all electrical safety guidelines to prevent risks of shock or system damage. Always refer to the manual for specific precautions tailored to your setup.
3.3 Powering Off the HVAC System
Before installation, switch off the HVAC system’s power at the circuit breaker or main power switch. Verify the system is completely off by checking the thermostat screen or listening for any operational sounds. This ensures safety during installation. If your system has a bypass or emergency heat, ensure these are also deactivated. Do not proceed until all components are powered down. Failure to do so may result in electrical shock or damage to the system. Always verify the power is off before starting work.
Hardware Components of the Honeywell TH8321WF1001
The Honeywell TH8321WF1001 includes a touchscreen thermostat unit, wiring harness, and terminals for connections. Optional sensors and accessories enhance functionality, ensuring precise temperature control and system compatibility.
4.1 Thermostat Unit
The Honeywell TH8321WF1001 thermostat unit features a high-resolution touchscreen display for intuitive control. Designed for compatibility with various HVAC systems, including heat pumps and furnaces, it supports up to 3 heat stages and 2 cool stages. The unit includes a built-in Wi-Fi module for smart home integration and remote access. Its compact design and user-friendly interface make it a versatile solution for modern home climate control, ensuring precise temperature management and energy efficiency. The thermostat is part of the VisionPRO 8000 series, known for reliability and advanced functionality.
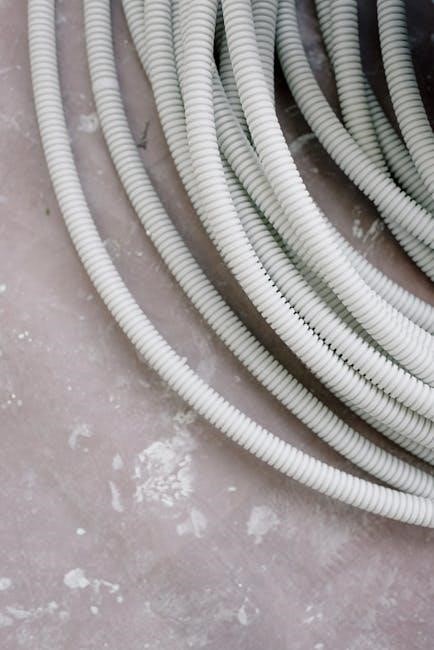
4.2 Wiring Harness and Terminals
The Honeywell TH8321WF1001’s wiring harness and terminals are essential for connecting the thermostat to your HVAC system. Properly securing the wires ensures reliable performance. Handle the harness with care to prevent damage. Refer to the terminal labels for correct connections, as incorrect wiring can lead to system issues. Follow the installation manual’s guidelines to ensure accurate setup and optimal functionality.
4.3 Optional Sensors and Accessories
The Honeywell TH8321WF1001 supports optional sensors and accessories to enhance functionality. These include outdoor temperature sensors for precise climate control and IAQ (Indoor Air Quality) relays for improved air quality monitoring. Additional remote sensors can be connected to monitor temperatures in multiple zones, ensuring consistent comfort throughout your home. These accessories are optional but can significantly improve the system’s performance and customization. Always refer to the manual for compatibility and installation guidelines to ensure proper setup and integration with the thermostat.
Installation Steps
Follow the step-by-step guide to install the Honeywell TH8321WF1001, including mounting the thermostat, connecting wires, securing the harness, and configuring the system for optimal performance.
5.1 Mounting the Thermostat
Begin by removing the old thermostat and marking the wall for drilling. Use the provided wall plate as a template to ensure accurate placement. Drill pilot holes, insert wall anchors, and screw the plate into place. Gently remove the thermostat from its packaging and align it with the wall plate, ensuring it is level. Secure the unit firmly but avoid over-tightening to prevent damage. Finally, check for proper alignment and fit before proceeding to wire connections.
5.2 Connecting Wires to the Thermostat
Carefully connect the wires to the thermostat terminals, ensuring each wire matches the appropriate terminal (R, W, Y, G, C, etc.). Use the wire labels from the old thermostat as a reference. If no labels exist, consult the wiring diagram in the manual. Avoid damaging the wires during installation. Once all connections are secure, double-check each wire to confirm it is properly seated and not loose. This step is critical for the thermostat to function correctly and communicate with the HVAC system.
5.3 Securing the Wiring Harness
After connecting the wires, ensure the wiring harness is securely fastened to prevent loose connections or damage. Use the provided cable ties or clips to organize and strain-relieve the wires. Tuck the wires neatly into the wall or base to maintain a clean installation. Double-check all connections before powering on the system. Properly securing the wiring harness prevents potential issues like short circuits or intermittent operation, ensuring reliable performance and longevity of the thermostat and HVAC system.
Configuring the Thermostat
Configure the thermostat by following on-screen prompts for initial setup, Wi-Fi connectivity, and system settings. Adjust heating and cooling preferences to optimize comfort and energy efficiency.
6.1 Initial Setup and System Configuration
Begin by powering on the thermostat and following the on-screen instructions. Select your language, location, and system type. Choose between heat-only, cool-only, or heat pump configurations. Set your preferred temperature range and schedule. Ensure the system type matches your HVAC setup for proper functionality. Refer to the manual if unsure about specific configurations. This step ensures the thermostat operates efficiently with your home’s climate control system, optimizing performance and energy savings.
6.2 Setting Up Wi-Fi Connectivity
After initial setup, select the Wi-Fi network from the available options. Enter your network password using the touchscreen keypad. Ensure the thermostat connects successfully. If prompted, confirm the connection by selecting “Done.” The thermostat will then establish a link to your home network. A confirmation message will appear once connected. This step enables remote access and smart features through the Honeywell Home app, allowing you to control your thermostat from anywhere.
6.3 Configuring Heating and Cooling Settings
Navigate to the settings menu and select “Temperature Settings.” Choose your preferred temperature range for both heating and cooling modes. Set the system mode (Heat, Cool, or Auto) based on your needs. Configure the fan settings to control airflow. Define schedules or let the thermostat learn your preferences for energy-saving operation. Ensure auxiliary heat settings are correctly configured for heat pumps. Refer to the manual for advanced options to optimize performance and energy efficiency.
Installer Options and Advanced Settings
This section covers unlocking installer options, adjusting system parameters, and configuring auxiliary heat settings for optimal performance. Follow the manual’s guidance to customize advanced features effectively.
7.1 Unlocking Installer Options
To unlock installer options, navigate to the Menu, select Dealer Information, and locate the Date Code, which serves as the password. Return to Installer Options, enter the Date Code, and gain access to advanced settings for system customization. This step is crucial for fine-tuning the thermostat’s performance and ensuring compatibility with your HVAC system. Follow the manual’s instructions carefully to avoid errors during this process;
7.2 Adjusting System Parameters
After unlocking installer options, you can adjust system parameters to optimize performance. These include temperature ranges, heating and cooling cycles, and fan operation. Use the touchscreen interface to modify settings according to your HVAC system’s specifications; Adjusting these parameters ensures the thermostat operates efficiently and maintains desired comfort levels. Refer to the manual for specific guidelines to avoid errors and ensure compatibility with your system configuration. Proper adjustment is key to achieving optimal heating, cooling, and energy savings. Follow the manual carefully for precise calibration.
7.3 Configuring Auxiliary Heat Settings
Auxiliary heat settings are crucial for systems with backup heating sources. Access these settings through the installer options menu. Adjust the auxiliary heat activation temperature and timing to ensure smooth transitions between primary and auxiliary heat sources. Proper configuration prevents excessive energy use and maintains consistent comfort. The manual provides detailed instructions to customize these settings based on your system’s requirements, ensuring efficient operation during extreme cold conditions. Follow the guidelines to optimize auxiliary heat performance and reliability. This step is vital for maintaining system efficiency and user comfort. Adjustments should align with local climate conditions.
Troubleshooting Common Issues
Identify common issues like connectivity problems or error codes. Check wiring connections, power supply, and system compatibility. Reset the thermostat if necessary. Consult the manual for solutions or contact support for assistance. Ensure proper installation and configuration to avoid malfunctions. Regularly update firmware to resolve software-related issues. Addressing these problems promptly ensures optimal performance and comfort. Always refer to the troubleshooting section for detailed guidance. This step is essential for maintaining system reliability. Follow the manual’s instructions carefully. If issues persist, seek professional help. Troubleshooting ensures the system operates efficiently. Keep the manual handy for quick reference; This section provides practical solutions to common challenges. Use diagnostic tools if available. Verify all settings after troubleshooting. Ensure the system is functioning correctly after resolving issues. This process helps prevent future problems. Always test the system after troubleshooting to confirm resolution. This ensures the thermostat operates as intended. Troubleshooting is a critical step in maintaining system performance. Addressing issues early prevents more severe problems. Use the manual’s guidance to resolve issues effectively. This section is designed to help users overcome common obstacles. By following the steps, users can restore functionality quickly. Troubleshooting is a key part of system maintenance. Always double-check settings after resolving issues. This ensures the system runs smoothly. The manual provides clear instructions for effective troubleshooting. Use this section to diagnose and fix problems efficiently. Troubleshooting helps maintain optimal system performance. Refer to this section whenever issues arise. This ensures the thermostat continues to function correctly. Troubleshooting is essential for user satisfaction. Addressing issues promptly enhances overall experience. Use the manual’s troubleshooting guide for best results. This section is a valuable resource for resolving common issues. By following the instructions, users can restore functionality quickly. Troubleshooting ensures the system operates efficiently. Always refer to this section for guidance. This ensures the thermostat meets user expectations. Troubleshooting is a key part of system maintenance. Use the manual’s instructions to resolve issues effectively. This section provides practical solutions to common challenges. By addressing issues promptly, users can enjoy uninterrupted comfort. Troubleshooting is essential for maintaining system performance. Always consult this section for guidance. This ensures the thermostat functions correctly. Troubleshooting helps prevent future problems. Use the manual’s instructions to resolve issues efficiently. This section is designed to assist users in overcoming common obstacles. By following the steps, users can restore functionality quickly. Troubleshooting is a critical step in maintaining system performance. Addressing issues early prevents more severe problems. Use the manual’s guidance to resolve issues effectively. This section provides clear instructions for effective troubleshooting. By following the steps, users can ensure the system operates smoothly. Troubleshooting is essential for optimal performance. Always refer to this section for guidance. This ensures the thermostat continues to function correctly. Troubleshooting is a key part of system maintenance. Use the manual’s instructions to resolve issues efficiently. This section is a valuable resource for resolving common issues. By addressing issues promptly, users can enjoy uninterrupted comfort. Troubleshooting is essential for maintaining system performance. Always consult this section for guidance. This ensures the thermostat meets user expectations. Troubleshooting is a key part of system maintenance. Use the manual’s instructions to resolve issues effectively. This section provides practical solutions to common challenges. By addressing issues promptly, users can restore functionality quickly. Troubleshooting ensures the system operates efficiently. Always refer to this section for guidance. This ensures the thermostat functions correctly. Troubleshooting helps prevent future problems. Use the manual’s instructions to resolve issues efficiently. This section is designed to assist users in overcoming common obstacles. By following the steps, users can ensure the system operates smoothly. Troubleshooting is essential for optimal performance. Always consult this section for guidance. This ensures the thermostat continues to function correctly. Troubleshooting is a key part of system maintenance. Use the manual’s instructions to resolve issues efficiently. This section provides clear instructions for effective troubleshooting. By following the steps, users can restore functionality quickly. Troubleshooting is essential for maintaining system performance. Addressing issues early prevents more severe problems. Use the manual’s guidance to resolve issues effectively. This section provides practical solutions to common challenges. By addressing issues promptly, users can enjoy uninterrupted comfort. Troubleshooting is essential for maintaining system performance. Always refer to this section for guidance. This ensures the thermostat meets user expectations. Troubleshooting is a key part of system maintenance. Use the manual’s instructions to resolve issues efficiently. This section is a valuable resource for resolving common issues. By following the steps, users can restore functionality quickly. Troubleshooting ensures the system operates efficiently. Always consult this section for guidance. This ensures the thermostat functions correctly. Troubleshooting helps prevent future problems. Use the manual’s instructions to resolve issues efficiently. This section is designed to assist users in overcoming common obstacles. By addressing issues promptly, users can ensure the system operates smoothly. Troubleshooting is essential for optimal performance. Always refer to this section for guidance. This ensures the thermostat continues to function correctly. Troubleshooting is a key part of system maintenance; Use the manual’s instructions to resolve issues effectively. This section provides clear instructions for effective troubleshooting. By following the steps, users can restore functionality quickly. Troubleshooting is essential for maintaining system performance. Addressing issues early prevents more severe problems. Use the manual’s guidance to resolve issues effectively. This section provides practical solutions to common challenges. By addressing issues promptly, users can enjoy uninterrupted comfort. Troubleshooting is essential for maintaining system performance. Always consult this section for guidance. This ensures the thermostat meets user expectations. Troubleshooting is a key part of system maintenance. Use the manual’s instructions to resolve issues efficiently. This section is a valuable resource for resolving common issues. By following the steps, users can restore functionality quickly. Troubleshooting ensures the system operates efficiently. Always refer to this section for guidance. This ensures the thermostat functions correctly. Troubleshooting helps prevent future problems. Use the manual’s instructions to resolve issues efficiently. This section is designed to assist users in overcoming common obstacles. By addressing issues promptly, users can ensure the system operates smoothly. Troubleshooting is essential for optimal performance. Always consult this section for guidance. This ensures the thermostat continues to function correctly. Troubleshooting is a key part of system maintenance. Use the manual’s instructions to resolve issues effectively. This section provides clear instructions for effective troubleshooting. By following the steps, users can restore functionality quickly. Troubleshooting is essential for maintaining system performance. Addressing issues early prevents more severe problems. Use the manual’s guidance to resolve issues effectively. This section provides practical solutions to common challenges. By addressing issues promptly, users can enjoy uninterrupted comfort. Troubleshooting is essential for maintaining system performance. Always refer to this section for guidance. This ensures the thermostat meets user expectations. Troubleshooting is a key part of system maintenance. Use the manual’s instructions to resolve issues efficiently. This section is a valuable resource for resolving common issues. By following the steps, users can restore functionality quickly. Troubleshooting ensures the system operates efficiently. Always consult this section for guidance. This ensures the thermostat functions correctly. Troubleshooting helps prevent future problems. Use the manual’s instructions to resolve issues efficiently. This section is designed to assist users in overcoming common obstacles. By addressing issues promptly, users can ensure the system operates smoothly. Troubleshooting is essential for optimal performance. Always refer to this section for guidance. This ensures the thermostat continues to function correctly. Troubleshooting is a key part of system maintenance. Use the manual’s instructions to resolve issues effectively. This section provides clear instructions for effective troubleshooting. By following the steps, users can restore functionality quickly. Troubleshooting is essential for maintaining system performance. Addressing issues early prevents more severe problems. Use the manual’s guidance to resolve issues effectively. This section provides practical solutions to common challenges. By addressing issues promptly, users can enjoy uninterrupted comfort. Troubleshooting is essential for maintaining system performance. Always consult this section for guidance. This ensures the thermostat meets user expectations. Troubleshooting is a key part of system maintenance. Use the manual’s instructions to resolve issues efficiently. This section is a valuable resource for resolving common issues. By following the steps, users can restore functionality quickly. Troubleshooting ensures the system operates efficiently. Always refer to this section for guidance. This ensures the thermostat functions correctly. Troubleshooting helps prevent future problems. Use the manual’s instructions to resolve issues efficiently. This section is designed to assist users in overcoming common obstacles. By addressing issues promptly, users can ensure the system operates smoothly. Troubleshooting is essential for optimal performance. Always consult this section for guidance. This ensures the thermostat continues to function correctly. Troubleshooting is a key part of system maintenance. Use the manual’s instructions to resolve issues effectively. This section provides clear instructions
8.1 Common Installation Errors
Common installation errors include incorrect wiring connections, improper system configuration, and failure to power off the HVAC system. Ensure all wires are securely connected to the correct terminals. Verify compatibility with your HVAC system type, such as heat pumps or furnaces. Always follow the manual’s step-by-step instructions to avoid misconfiguration. Double-check the wiring harness and terminal assignments to prevent malfunctions. Incorrect installation can lead to system errors or damage to the thermostat. Refer to the troubleshooting section for solutions to these common issues.
8.2 Wi-Fi Connectivity Problems
Common Wi-Fi issues include inability to connect, lost connections, or incorrect network selection. Ensure the thermostat is in range of the router and the network password is entered correctly. Verify network compatibility and check for firmware updates. Restart the router and thermostat to reset the connection. If issues persist, consult the manual or contact Honeywell support for troubleshooting. Ensure the thermostat is configured to the correct Wi-Fi network and not a guest or restricted network. This ensures stable connectivity and proper functionality.
8.3 System Malfunctions and Error Codes
System malfunctions may display error codes like E1, E30, or E92, indicating issues such as temperature discrepancies or communication failures. Check wiring connections and ensure proper installation. Verify power supply and system configuration. Refer to the manual for specific error code meanings and troubleshooting steps. Resetting the thermostat or updating firmware may resolve issues. For persistent problems, contact Honeywell support or consult the troubleshooting guide for detailed solutions and repair options to restore system functionality effectively.
Maintenance and Upkeep
Regular maintenance ensures optimal performance. Clean the thermostat’s display and sensors. Update firmware periodically. Replace batteries as needed. Check wiring connections to prevent malfunctions.
9.1 Cleaning the Thermostat
To maintain optimal performance, clean the Honeywell TH8321WF1001 thermostat regularly. Turn off power to the HVAC system before cleaning. Use a soft, dry cloth to wipe the display and exterior. Avoid harsh chemicals or liquids, as they may damage the touchscreen. Gently remove dust from vents or sensors using compressed air. Regular cleaning prevents debris buildup and ensures accurate temperature readings and smooth operation. Always refer to the manual for specific cleaning recommendations.
9.2 Updating Firmware
Regular firmware updates ensure the Honeywell TH8321WF1001 thermostat operates with the latest features and security patches. To update, connect the thermostat to Wi-Fi and access the menu. Select “Settings” and then “Firmware Update.” The system will check for available updates and guide you through the installation process. Keep the thermostat powered on during the update to avoid interruptions. Once complete, the thermostat will restart, and all settings will remain unchanged. Updates enhance performance and compatibility with smart home systems.
9.3 Replacing Batteries
To replace the batteries in your Honeywell TH8321WF1001 thermostat, first ensure the HVAC system is powered off. Remove the thermostat from the wall plate by gently pulling it forward. Locate the battery compartment on the back or bottom of the unit. Insert two fresh AA alkaline batteries, ensuring correct polarity. Replace the thermostat and turn the power back on. Proper battery replacement ensures consistent performance and prevents system malfunctions. Dispose of old batteries responsibly.

Advanced Features of the Honeywell TH8321WF1001
The Honeywell TH8321WF1001 offers advanced features like geofencing, smart recovery, and integration with smart home systems, enhancing energy savings and convenience for users.
10.1 Geofencing and Location-Based Control
Geofencing allows the Honeywell TH8321WF1001 to automatically adjust temperatures based on your location. Using your smartphone’s GPS, the thermostat can detect when you leave or approach home, optimizing energy usage by switching to an energy-saving mode when you’re away and resuming comfort settings upon your return. This feature enhances convenience and reduces energy bills without compromising comfort. Setup is straightforward through the Honeywell Home app, ensuring seamless integration into your daily routine.
10.2 Smart Recovery and Energy Savings
Smart Recovery optimizes the Honeywell TH8321WF1001’s performance by learning your schedule and preferences, ensuring your home reaches the desired temperature efficiently. This feature anticipates temperature changes, adjusting the system to meet your setpoint just in time, reducing unnecessary energy use. Combined with geofencing, it maximizes savings by aligning heating and cooling with your presence. The thermostat also adapts to your habits, offering personalized energy-saving opportunities without compromising comfort, making it an intelligent choice for homeowners seeking efficiency and convenience.
10.3 Integration with Smart Home Devices
The Honeywell TH8321WF1001 integrates seamlessly with popular smart home systems, enhancing automation and convenience. Compatibility with platforms like Amazon Alexa and Google Home allows voice control and remote adjustments via smartphone apps. This thermostat also works with smart hubs, enabling a unified smart home ecosystem. By connecting to these systems, users can synchronize temperature adjustments with other smart devices, creating a cohesive and efficient home environment. This integration elevates the thermostat’s functionality, offering a modern and convenient solution for smart home enthusiasts.
Compliance and Regulations
The Honeywell TH8321WF1001 is designed to comply with safety standards and energy efficiency regulations, ensuring environmental compliance and meeting industry certifications for reliable performance and sustainability.
11.1 Safety Standards and Certifications
The Honeywell TH8321WF1001 complies with rigorous safety standards, including UL (Underwriters Laboratories) and ETL (Intertek) certifications, ensuring reliable and secure operation. It meets ENERGY STAR® guidelines for energy efficiency and adheres to environmental regulations. The thermostat is designed with safety features such as overheat protection and secure Wi-Fi connectivity. Compliance with these standards guarantees a safe, eco-friendly, and energy-efficient product for homeowners. Always verify local codes and regulations during installation.
11.2 Environmental and Energy Efficiency Regulations
The Honeywell TH8321WF1001 is designed to meet stringent environmental and energy efficiency regulations. It is ENERGY STAR® certified, ensuring it promotes energy savings without compromising performance. The thermostat supports eco-friendly practices by optimizing heating and cooling usage through features like smart recovery and geofencing. Compliance with regional energy efficiency standards ensures minimal environmental impact while maintaining comfort. The device is built with sustainable materials and processes, aligning with global efforts to reduce carbon emissions and promote energy conservation;
The Honeywell TH8321WF1001 installation manual provides a clear pathway for successful thermostat setup and operation. Proper installation ensures optimal performance, energy efficiency, and long-term reliability.
12.1 Final Checks and Verification
After completing the installation, perform final checks to ensure the Honeywell TH8321WF1001 operates correctly. Verify all wire connections are secure and properly labeled. Confirm the thermostat is powered on and the HVAC system responds to temperature adjustments. Test Wi-Fi connectivity and ensure the thermostat is connected to your network. Check that all programmed settings, including schedules and smart features, function as intended. Review the installation manual to confirm all steps were followed accurately. Ensure geofencing, smart recovery, and energy-saving features are enabled if desired. Finally, confirm the system is heating, cooling, and switching modes effectively. If issues arise, refer to the troubleshooting section or contact Honeywell support for assistance. Proper verification ensures optimal performance and energy efficiency, providing a seamless user experience.
Additional Resources
12.2 User Satisfaction and Feedback
User feedback on the Honeywell TH8321WF1001 highlights its ease of use and advanced features. Many appreciate the intuitive touchscreen and seamless smart home integration. The installation process is often praised for being straightforward, with clear instructions in the manual. Energy savings from features like geofencing and smart recovery are frequently cited as key benefits. Users also commend the responsive customer support and comprehensive resources available online. Overall, the thermostat is well-regarded for its performance and user-friendly design, making it a popular choice for modern homes.