Crosley Turntable Manual: A Comprehensive Guide (Updated 02/03/2026)
Vinyl’s revival, fueled by artists like Taylor Swift and events like Record Store Day (April 13th, 2026), necessitates a detailed guide for modern turntable users.
Crosley turntables have become synonymous with the modern vinyl resurgence, offering accessible entry points for both seasoned audiophiles and newcomers alike. While the format experienced a significant revival, evidenced by multiple vinyl versions of albums like Taylor Swift’s Midnights, the landscape has evolved beyond traditional, complex stereo systems.
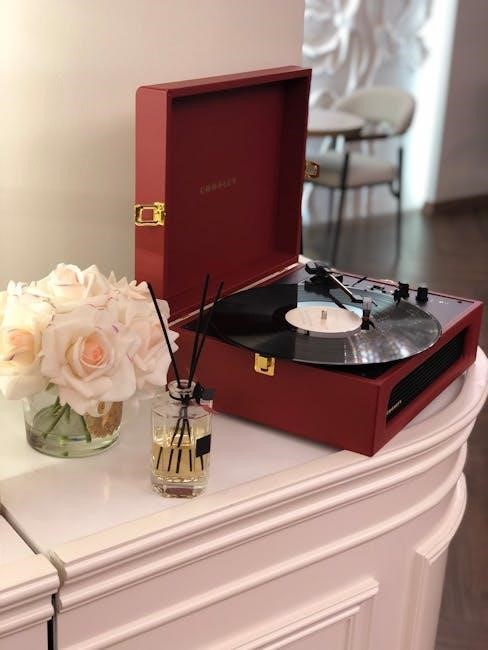
Crosley caters to this shift, providing a range of turntables – from portable suitcase models to more sophisticated, built-in speaker systems. This manual aims to demystify the operation and maintenance of these devices. Understanding the nuances of your Crosley turntable is crucial, especially with events like Record Store Day (April 13th, 2026) encouraging vinyl exploration. We’ll cover everything from initial setup to troubleshooting, ensuring you enjoy your records to their fullest potential.
Understanding Crosley Turntable Models
Crosley offers a diverse lineup of turntables, each designed with specific features and user experiences in mind. From the iconic, portable suitcase models – perfect for casual listening – to more stationary units with integrated speakers, there’s a Crosley turntable to suit various needs. Some models prioritize simplicity and all-in-one convenience, while others offer greater connectivity options like Bluetooth and USB recording.
The current popularity of vinyl, boosted by artists like Taylor Swift, means consumers have choices. Understanding these differences is key. Record Store Day (April 13th, 2026) highlights the continued growth of the format. This guide will help you identify your specific model and navigate its unique functionalities, ensuring optimal performance and enjoyment of your vinyl collection.
Common Crosley Turntable Issues
Despite their ease of use, Crosley turntables can occasionally present challenges. Common issues include a lack of sound, often stemming from incorrect connections or low volume settings. Records may skip or repeat due to a worn or dirty needle, or improper tracking force. Speed instability can also occur, impacting the listening experience.
The resurgence of vinyl, as evidenced by events like Record Store Day (April 13th, 2026), means more users are encountering these issues. This section will address these frequently reported problems, providing step-by-step troubleshooting guidance. We’ll cover diagnosing the root cause and implementing effective solutions to restore your turntable to optimal working condition, ensuring continued enjoyment of your vinyl collection.
Setting Up Your Crosley Turntable
Proper setup is crucial for optimal performance and longevity of your Crosley turntable. This section guides you through the initial steps, beginning with carefully unboxing all components and identifying each part. Next, we’ll detail connecting the turntable to both a power source and your chosen audio system – speakers or a receiver.
Crucially, correct placement is vital. Ensure the turntable is positioned on a stable, level surface to prevent skipping and maintain accurate tracking; Given vinyl’s renewed popularity, highlighted by events like Record Store Day (April 13th, 2026), a solid setup is key to enjoying your records fully. Following these steps will ensure a seamless listening experience.
Unboxing and Component Identification
Carefully open the box and remove all packaging materials. Your Crosley turntable package should include the turntable itself, a power adapter, and potentially a 45 RPM adapter for playing smaller records. Some models may also include RCA cables for connecting to external speakers or a receiver.
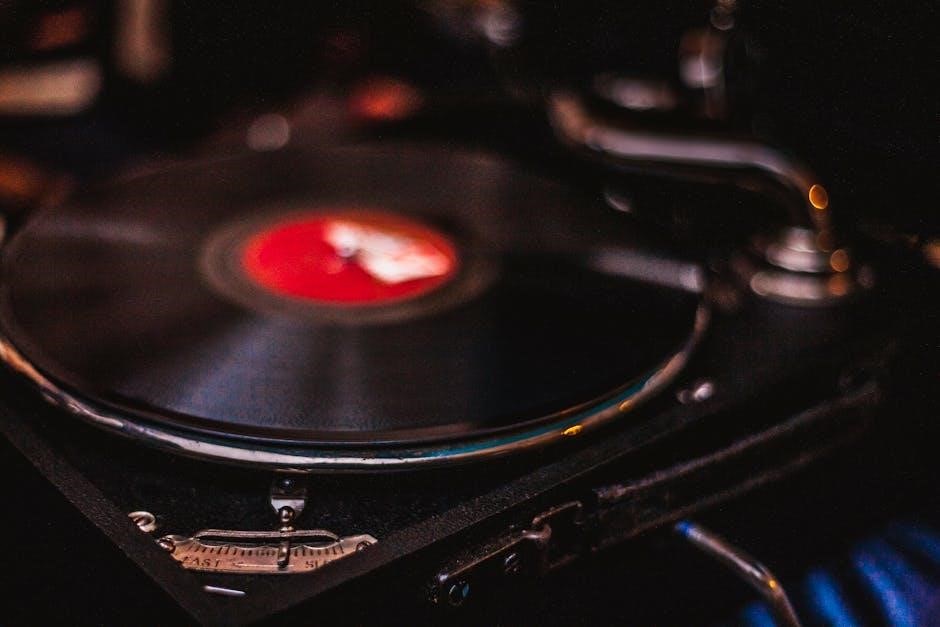
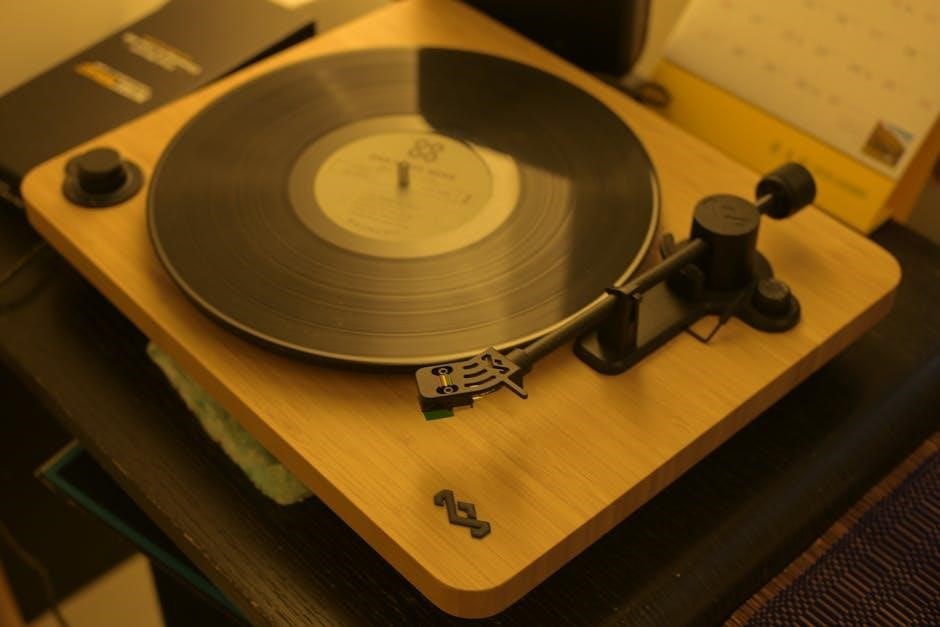
Identify the key components: the platter (the rotating disc), the tonearm (holds the cartridge and needle), the base, and the control knobs. Familiarize yourself with their locations. The resurgence of vinyl, as seen with Taylor Swift’s multiple Midnight versions, means quality components are expected. Ensure all parts are present and undamaged before proceeding. Refer to the included parts list for verification.
Connecting to Power and Audio Systems
First, connect the power adapter to the turntable’s DC power input and plug it into a wall outlet. For audio, Crosley turntables offer multiple connection options. If using the built-in speakers, ensure they are functioning correctly. Otherwise, locate the RCA output jacks on the turntable’s rear panel.
Connect RCA cables (not always included) from these jacks to the corresponding input on your amplifier, receiver, or powered speakers. Remember, vinyl’s popularity, highlighted by events like Record Store Day, demands good audio quality. If your system lacks RCA inputs, you may need an adapter. Ensure all connections are secure before powering on any devices.
Initial Turntable Placement & Leveling
Proper placement is crucial for optimal performance. Position your Crosley turntable on a stable, level surface, away from direct sunlight, heat sources, and vibrations – like speakers! Uneven surfaces can cause skipping or distorted sound, impacting your enjoyment of vinyl, a format experiencing a strong resurgence as seen with artists like Taylor Swift.
Use a bubble level to verify the turntable is perfectly horizontal. Adjust the feet, if applicable, until the bubble centers. A stable setup minimizes tracking errors and ensures accurate playback. Remember Record Store Day celebrates the vinyl experience, so a good setup is key!
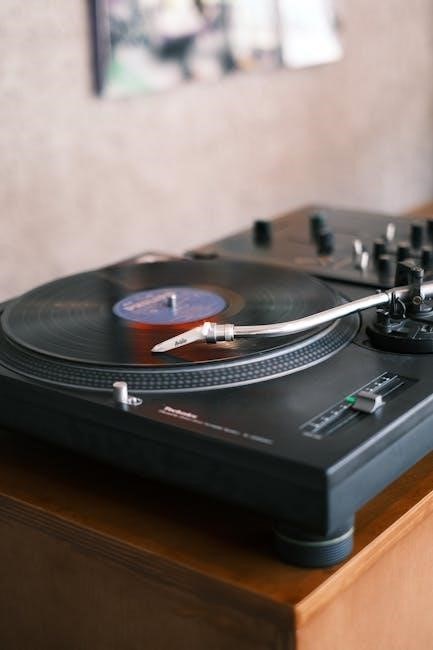
Operating Your Crosley Turntable
Understanding your Crosley’s controls is key to enjoying your vinyl collection. Begin by ensuring the turntable is correctly set up and leveled. Power on the unit and familiarize yourself with the basic functions – typically a power button and speed selector. Vinyl’s popularity, evidenced by events like Record Store Day and artists like Taylor Swift releasing multiple versions, demands ease of use.
Select the appropriate speed (33 1/3, 45, or 78 RPM) based on your record. Some models offer automatic or manual operation; understand which mode your turntable utilizes for seamless playback. Proper operation ensures optimal sound quality and protects your valuable records.
Powering On/Off and Basic Controls
Initiating operation is straightforward. Locate the power button, usually on the rear or side panel, and press to activate the turntable. Most Crosley models feature a simple on/off switch, while some incorporate it into the volume knob. Familiarize yourself with the speed selector – a crucial control for accurate playback at 33 1/3, 45, or 78 RPM.
The volume control adjusts the audio output, particularly important for models with built-in speakers. Understanding these basic controls, alongside the growing vinyl resurgence seen with artists like Taylor Swift and events like Record Store Day, ensures a smooth listening experience.
Playing Records: Speed Selection (33 1/3, 45, 78 RPM)
Correct speed selection is vital for accurate audio reproduction. 33 1/3 RPM is standard for LPs (long-playing albums), while 45 RPM is typically used for singles. Older 78 RPM records require the highest speed setting. Crosley turntables usually have a selector switch to choose the appropriate RPM.
Incorrect speed results in distorted or pitch-shifted sound. The renewed interest in vinyl, exemplified by Taylor Swift’s multiple album releases and events like Record Store Day, highlights the importance of proper playback. Always verify the record’s designated speed before playing to fully appreciate the audio quality.
Automatic vs. Manual Operation Modes
Crosley turntables offer both automatic and manual operation. Automatic models initiate playback upon power-on or button press, lifting and lowering the tonearm. Manual models require the user to physically place the needle onto the record’s groove.
Manual operation provides greater control and is favored by audiophiles. The resurgence of vinyl, driven by artists like Taylor Swift and celebrated during events like Record Store Day, often appeals to those seeking a more engaged listening experience. Understanding your turntable’s mode ensures optimal playback and protects your vinyl collection from potential damage.
Crosley Turntable Features & Functions
Crosley turntables frequently incorporate built-in speakers, offering convenience but potentially sacrificing audio fidelity compared to external systems. Bluetooth connectivity allows wireless pairing with speakers or headphones, enhancing versatility. The ability to digitize vinyl via USB recording is a popular feature, preserving collections in digital formats.
These features cater to the modern vinyl enthusiast, mirroring the format’s resurgence highlighted by events like Record Store Day and artists like Taylor Swift’s multiple vinyl releases. Understanding these functions maximizes your listening experience and allows you to fully enjoy your record collection.
Built-in Speakers: Advantages & Limitations
Crosley turntables with integrated speakers provide an all-in-one solution, simplifying setup and making them ideal for casual listening or smaller spaces; This convenience eliminates the immediate need for external audio components, appealing to new vinyl enthusiasts. However, built-in speakers typically offer limited sound quality compared to dedicated systems.
The compact speaker design often compromises bass response and overall clarity. For a richer, more immersive experience – especially when enjoying albums like Taylor Swift’s Midnight – connecting to external speakers is highly recommended. Consider them a starting point, acknowledging their limitations while appreciating the ease of use.
Bluetooth Connectivity: Pairing & Troubleshooting
Many Crosley turntables feature Bluetooth, allowing wireless connection to speakers or headphones. Pairing is usually initiated by pressing and holding the Bluetooth button on the turntable until it enters pairing mode – indicated by a flashing light. Search for the turntable’s name on your device and connect.
If pairing fails, ensure Bluetooth is enabled on your device and the turntable isn’t already connected to another device. Interference from other wireless signals can also cause issues. Resetting the turntable or your Bluetooth device may resolve connectivity problems. Remember, Bluetooth prioritizes convenience over audiophile-grade sound quality.
USB Recording: Digitizing Your Vinyl Collection
Crosley turntables with USB ports enable you to convert your vinyl records into digital files. Typically, this involves connecting the turntable to your computer via a USB cable and using included software (or Audacity, a free alternative) to record the audio. Ensure the software recognizes the turntable as an audio input device.
Before recording, adjust the input volume to prevent clipping or distortion. The software allows you to edit the recording, remove unwanted noise, and save the files in formats like MP3 or WAV. Digitizing your collection preserves your music and allows for portable enjoyment, bridging the gap between analog warmth and digital convenience.
Troubleshooting Common Problems
Encountering issues with your Crosley turntable is common, but often easily resolved. If you experience no sound, meticulously check all connections – from the turntable to the audio system – and verify the volume levels on both devices. Skipping or repeating records usually indicates a worn or dirty needle (stylus), or incorrect tracking force.
Turntable speed instability can stem from a loose belt (belt-drive models) or require calibration. Regularly cleaning your records and the turntable itself prevents many problems. If issues persist, consult the full manual or seek assistance from a qualified technician to ensure optimal performance and longevity of your vinyl setup.
No Sound Issues: Checking Connections & Volume
A lack of audio is frequently the first issue encountered. Begin by systematically verifying all cable connections – RCA cables to your amplifier or speakers, and the power cord itself. Ensure these are securely plugged in at both ends. Next, confirm your audio system is powered on and set to the correct input source (e.g., Phono, AUX).
Critically, check the volume levels on both the turntable (if it has a built-in preamp and volume control) and your connected audio system. A muted or very low volume setting on either device will result in silence. Finally, test with different records to rule out a damaged disc.
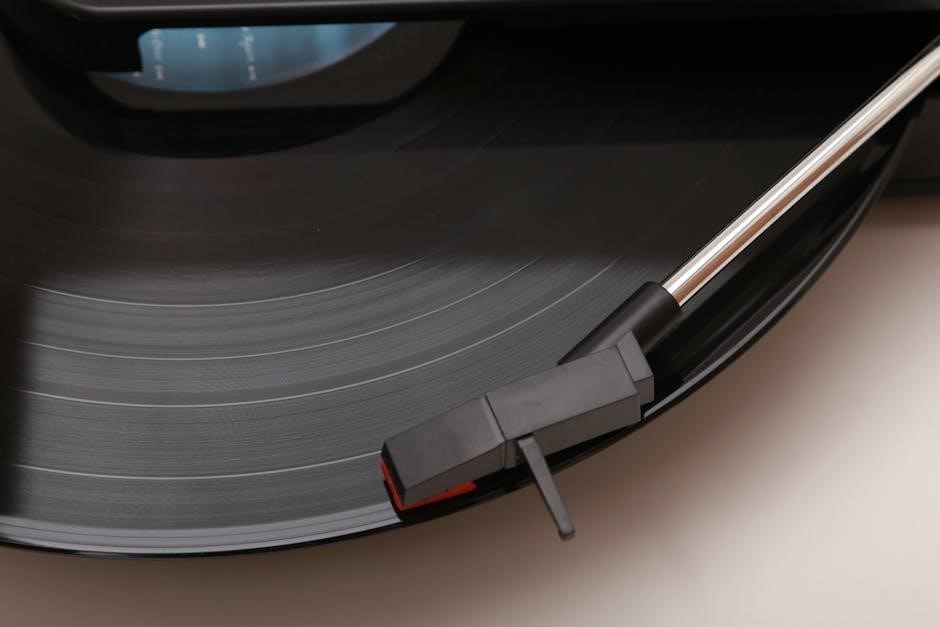
Skipping or Repeating Records: Needle & Tracking Force
Persistent skipping or repeating grooves usually indicate a problem with the needle (stylus) or tracking force. First, inspect the stylus for wear or damage – even a small defect can cause issues. A worn stylus struggles to accurately track the record’s grooves. If the stylus appears fine, consider the tracking force.
Insufficient tracking force causes the needle to lift from the groove, resulting in skipping. Conversely, excessive force can damage both the record and the stylus. If your Crosley model allows adjustment, carefully consult the manual for the recommended tracking force setting for your cartridge.
Turntable Speed Instability: Calibration & Maintenance
Inconsistent playback speed – whether too fast or too slow – significantly impacts sound quality. For Crosley turntables, speed instability often stems from a loose or worn belt (on belt-drive models) or internal motor issues. Regularly inspect the belt for stretching or cracking; replacement is crucial for consistent speed.
Some models offer speed calibration adjustments. Consult your turntable’s manual for instructions on how to fine-tune the speed using a strobe disc and a compatible app. Proper leveling of the turntable is also vital, as an uneven surface can affect motor performance. Routine cleaning of the motor and surrounding components can prevent dust buildup and ensure smooth operation.
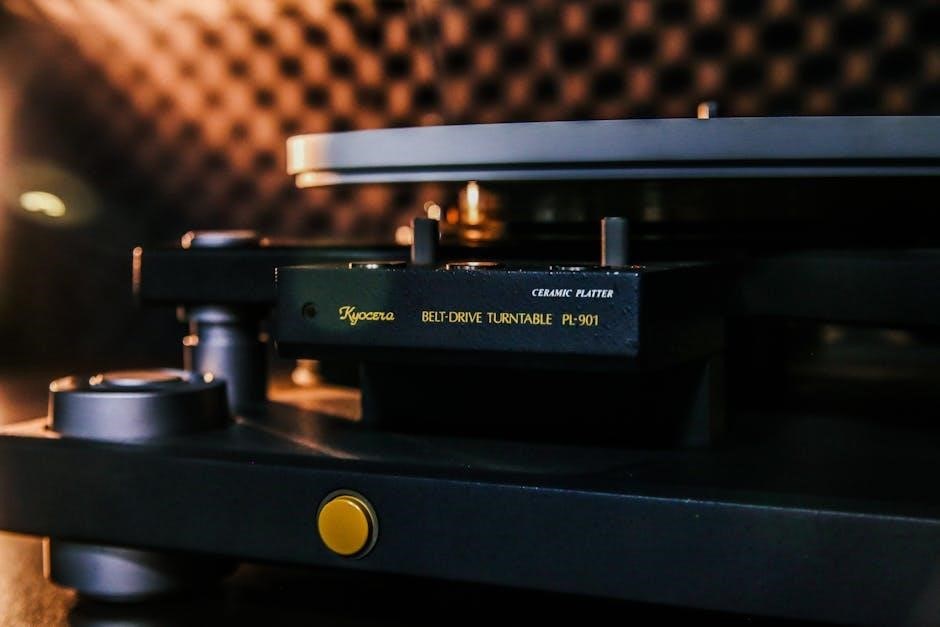
Crosley Turntable Maintenance & Care
Prolonging your Crosley turntable’s lifespan requires consistent care. Regularly cleaning both the turntable and your vinyl records is paramount. Use a carbon fiber brush to remove dust from records before each play, preventing damage to the stylus. For the turntable itself, gently wipe the plinth and dust cover with a soft, dry cloth.
The stylus (needle) is a crucial component needing periodic replacement – typically after 1000 hours of use. A worn stylus degrades sound quality and can damage your records. Belt-drive models necessitate occasional belt replacement, ensuring accurate speed. Proper storage, away from direct sunlight and extreme temperatures, also contributes to long-term health.
Cleaning Your Turntable & Records
Maintaining pristine sound quality begins with cleanliness. Before each play, utilize a carbon fiber brush to gently remove dust and debris from your vinyl records’ surface. This prevents particles from lodging in the grooves and damaging the stylus. For the turntable, always disconnect the power first!
Use a soft, lint-free cloth – slightly dampened with a specialized vinyl cleaning solution – to wipe down the plinth (base) and dust cover. Avoid harsh chemicals or abrasive cleaners. Never apply liquid directly onto the turntable; always dampen the cloth. Regular cleaning safeguards your investment and ensures optimal performance, preserving both your records and the turntable itself.
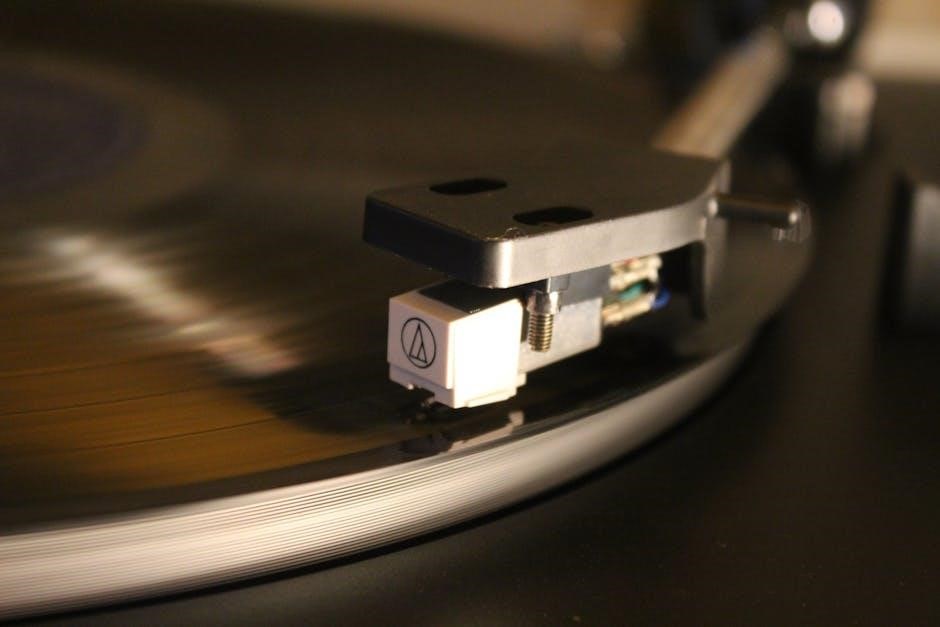
Replacing the Needle (Stylus)
A worn stylus degrades sound quality and can damage your vinyl. Replacement frequency depends on usage, but generally, every 1000 hours is recommended. Carefully disconnect the turntable from power before proceeding. Locate the stylus retaining clip – often a small lever or screw – on the cartridge.
Gently release the clip and carefully pull the old stylus straight forward. Install the new stylus by aligning it with the cartridge and gently pushing it into place until it clicks or secures. Re-engage the retaining clip. Never use excessive force. A fresh stylus restores clarity and protects your valuable record collection, ensuring continued enjoyment of your vinyl.
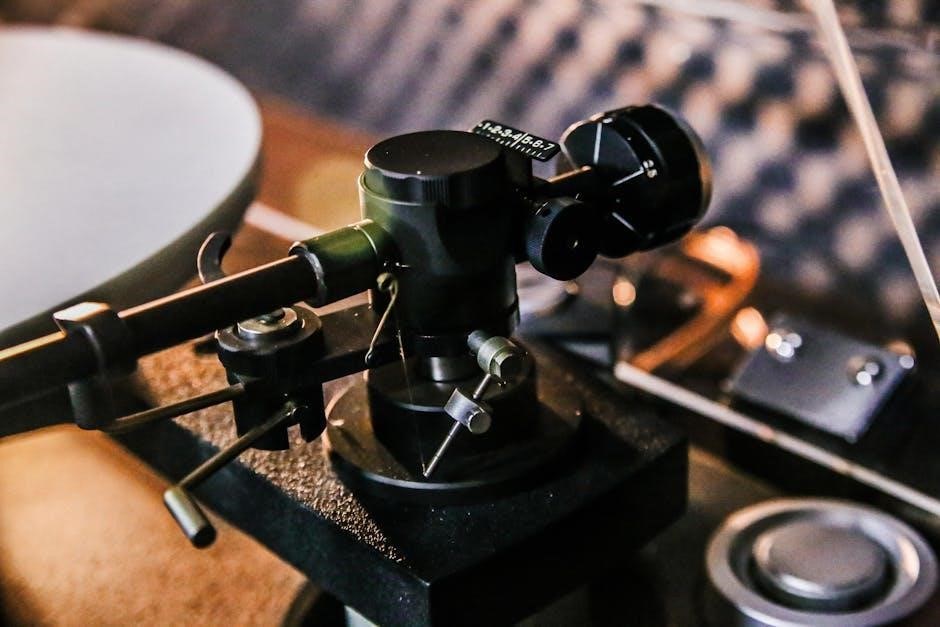
Belt Replacement (For Belt-Drive Models)
Over time, the belt in belt-drive Crosley turntables can stretch or degrade, causing speed inconsistencies. Begin by disconnecting the turntable from power. Carefully remove the platter, often by lifting it straight up or unscrewing a central knob. Locate the old belt around the motor pulley and platter spindle.
Gently remove the old belt – it may be brittle. Clean both the pulley and spindle with a soft, lint-free cloth. Install the new belt, ensuring it’s properly seated on both the pulley and spindle. Replace the platter and test the turntable’s speed. A new belt restores accurate playback and prevents damage to your records.
Advanced Crosley Turntable Settings
For audiophiles seeking optimal performance, understanding advanced settings is crucial. Adjusting tracking force – the downward pressure of the stylus – impacts sound quality and record wear. Lower force can cause skipping, while excessive force damages vinyl. Anti-skate compensates for the inward pull on the tonearm.
Cartridge alignment ensures the stylus tracks the record groove accurately, minimizing distortion. These adjustments, if available on your model, require precision and patience. Improper settings can negatively affect playback. Consult online resources or a professional for guidance if unfamiliar with these advanced configurations, enhancing your listening experience.
Adjusting Tracking Force & Anti-Skate (If Applicable)
Tracking force, measured in grams, dictates stylus pressure. Consult your cartridge manufacturer for the recommended range; exceeding it accelerates record wear, while insufficient force causes skipping. Most Crosley models lack adjustable tracking force, but some advanced units offer a dial for precise control.
Anti-skate counteracts the inward pull during playback, preventing uneven groove wear and distortion. Begin with a setting matching the tracking force. Fine-tune by listening for balanced stereo imaging – equal volume from both channels. If one channel is louder, adjust anti-skate incrementally. Remember, subtle changes yield noticeable improvements.
Understanding Cartridge Alignment
Proper cartridge alignment is crucial for optimal sound reproduction and minimizing record wear. Misalignment causes distortion and groove damage. While many Crosley turntables feature pre-aligned cartridges, verifying alignment is beneficial, especially after stylus replacement.
Alignment involves ensuring the stylus traces the record groove at a 90-degree angle. Specialized alignment protractors are available online or at audio retailers. These tools guide precise cartridge positioning. Carefully loosen the cartridge mounting screws, adjust the cartridge based on the protractor’s guidance, and retighten the screws gently. Accurate alignment unlocks the full potential of your vinyl collection.
Resources & Further Support
For additional assistance beyond this manual, Crosley’s official website (crosleyradio.com) provides a comprehensive FAQ section, troubleshooting guides, and downloadable manuals for various models. Record Store Day’s website (recordstoreday.com) offers a directory of participating record stores, valuable for vinyl-related advice and supplies.
Online forums and communities dedicated to vinyl enthusiasts, like those found on Reddit (r/vinyl) or Steve’s Audio Forum, provide a platform for sharing experiences and seeking expert opinions. Crosley’s customer support team can be reached via email or phone, details available on their website. Remember to have your turntable’s model number ready when contacting support;